Index
Create Event | Spots | Categories | Courses | Test play
Create Events
After launching the app, select the “Manage” icon in the bottom menu bar.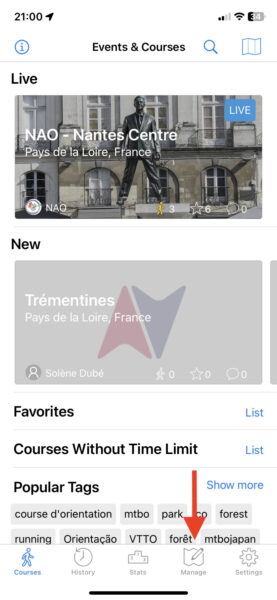
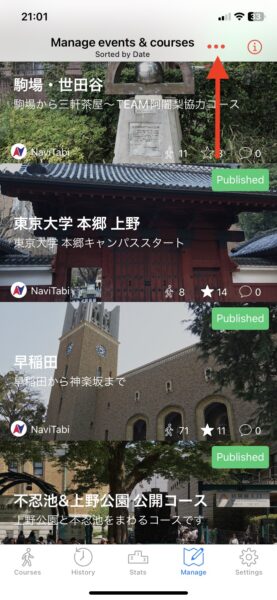
Courses that you have created in the past or courses that you have been assigned as manager should appear. To create a new course, tap on the menu icon with three dots on the top right.
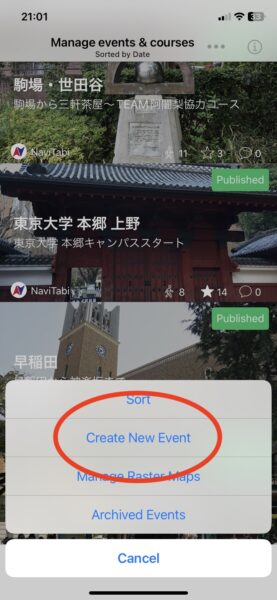
From the pop up menu, select “Create New Event”.
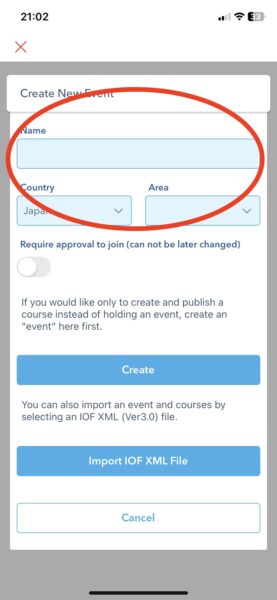
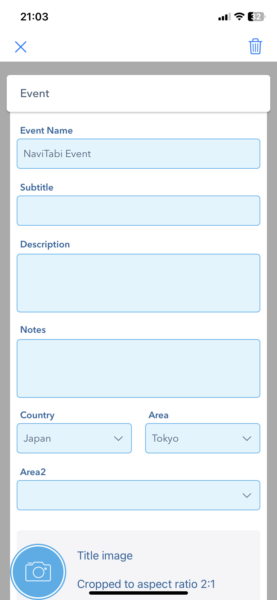
Set the name of the event to create, choose the country and area of the Event and tap Create. Alternatively you can import IOF XML files to set up the course.
After creating the event, fill in the appropriate fields such as subtitle, description, and notes. Typically, notes should provide any warnings to the runners regarding the course.
Tap on the camera button to import a title image. The title image will be shown to users looking for events to join.
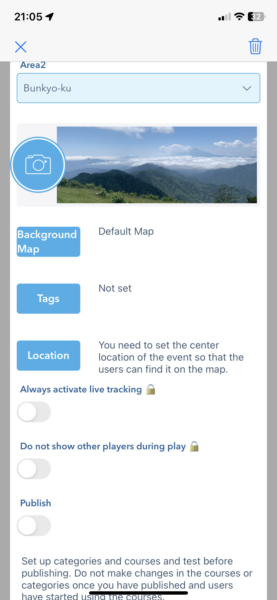
Tap on Background map if you have an orienteering map to upload and use instead of the default maps. If you are using an orienteering map, please make sure you have obtained the proper rights to use the map.
The “Publish” switch needs to be turned on to make the event available to the public. You can wait to turn the publish switch on until after you have set up the courses properly.
After publishing events, it is recommended that you do not change the courses or controls as it may cause confusion for the runners, in addition to creating discrepencies in the results.
Spots
Set up all of the checkpoints on the map.
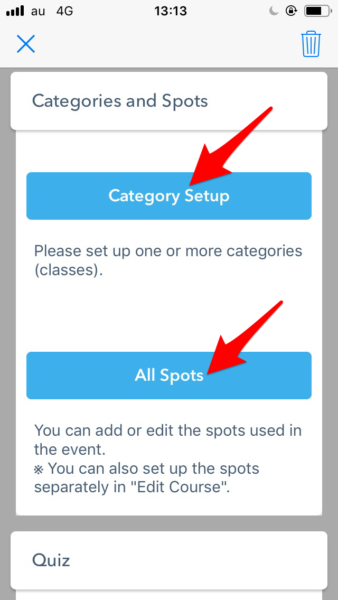
Selecting “All Spots” will allow you to set up all of the checkpoints for the event.
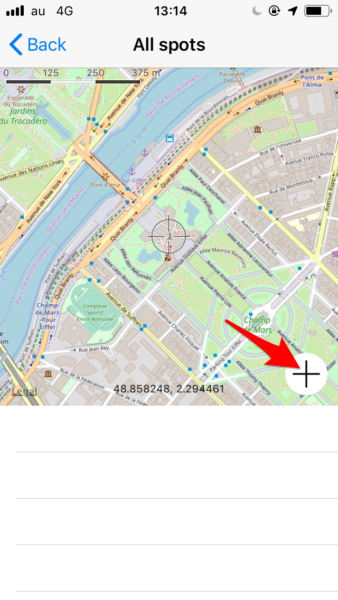
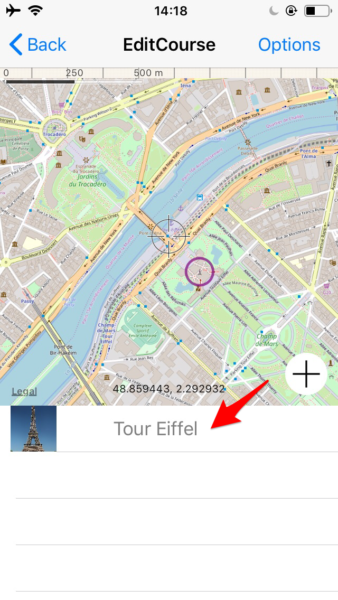
In the screen for setting the spot, move the map so that the location that you would like to place the checkpoint comes under the center of the map, marked by ◯.
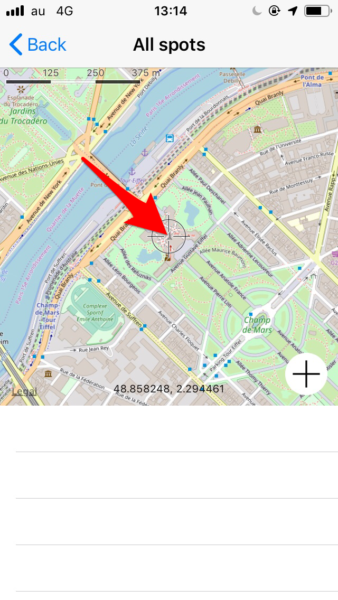
If you have located the map correctly, press the “+” mark on the lower right side of the map, to add the checkpoint.

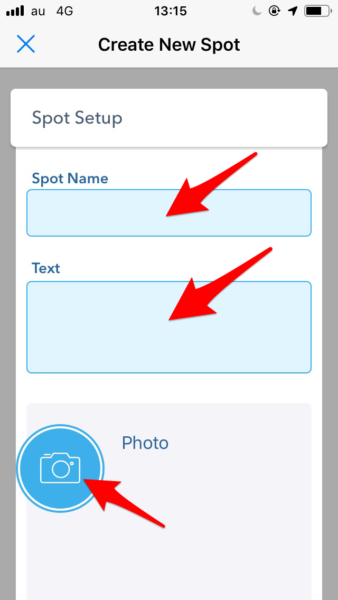
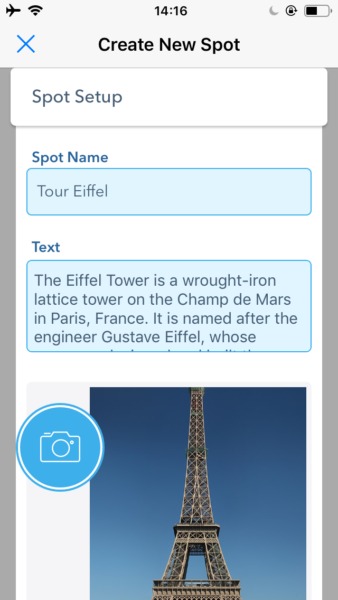
Fill in the description and the name of the checkpoint.
Also, upload the photo of the spot. Alternatively, you can take a new photo of the spot.
[hr]
Categories
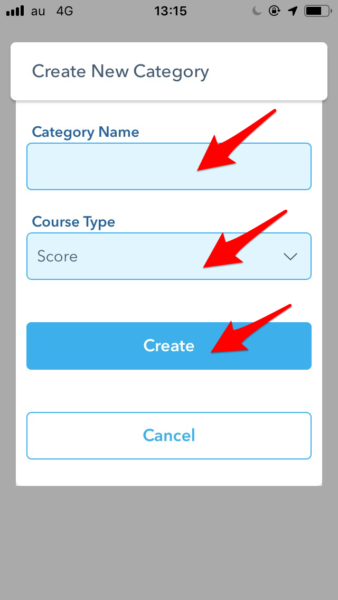
In the event, set up one or more categories.
For each category, set up Course Type. Courses can be one of below type:
“Score”
“Score (Free Start and Finish)”
“Fixed Order”
For typical orienteering type, choose “Fixed Order”. For Rogaining, choose “Score” or “Score (Free Start and Finish).
The following describes setting up a “Score” course type.
Structure of an Event
For an event, NaviTabi has a hierarchical structure.
Events> Categories> Courses.
An Event must have one or more Category.
Category must have one or more Courses.
The same Course can be used in more than two Categories.
Choose from the following three types of courses.
– “Score”
→ runners compete the number of points collected within the time limit ,
“Score (Free Start and Finish)”
→ does not specify a start-finish point
“Fixed Order”
→ the order of the checkpoints is specified. The fastest to complete is the winner.
This example takes you through the Score type.
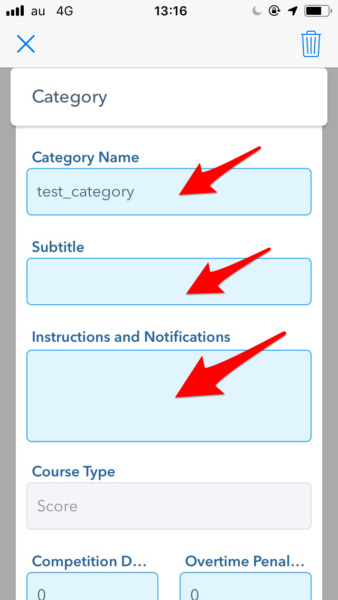
Enter Category name, Subtitle, and Instructions and Notifications.
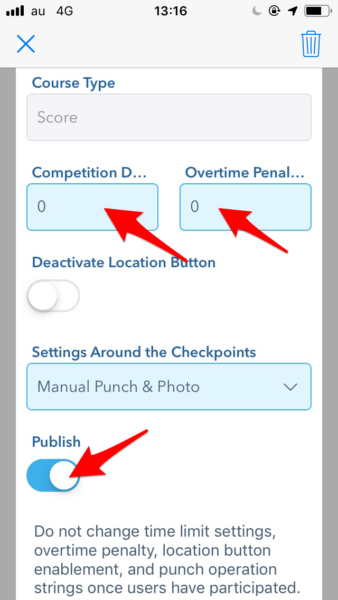
Set the competition duration, and the penalty for overtime.
 [hr]
[hr]
Courses
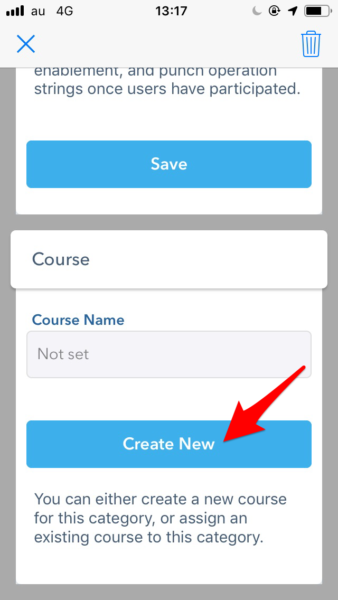
Set a course for the category.
You can either create a new course or select a previously created course.
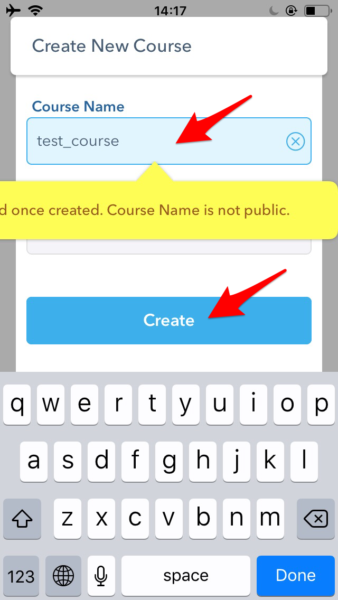
Please input the name of the course when setting up a new course. The course name does not appear to participants and is used only to differentiate between the courses when setting up the event.
Tap and choose the spot you would like to use for the course.
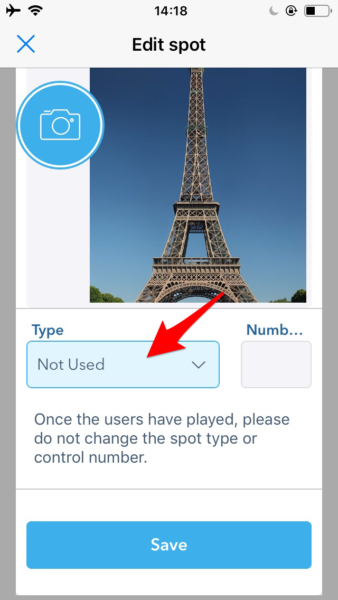
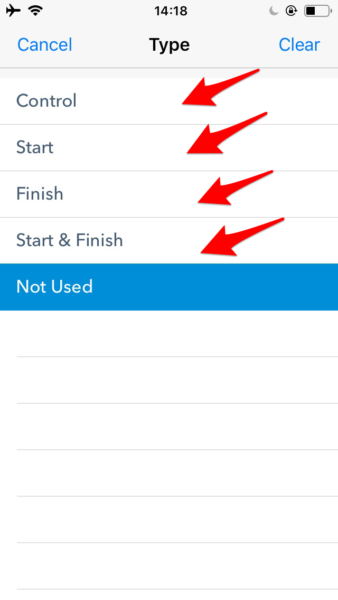
Choose how you would like to use the spot. There are the following types of roles.
Control: a checkpoint on the course
Start: the start
Finish: the finish
Start & Finish: the checkpoint acts as both Start and finish.
When using the spot as a control, choose a score for the control.
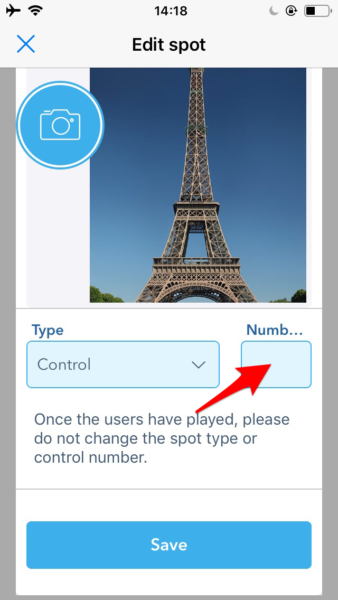
After entering the score, tap save.
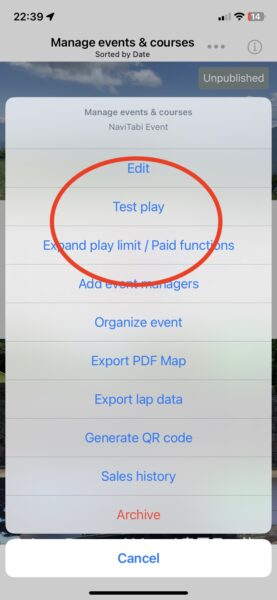
Test play
Before you publish the event course, we recommend that you conduct a test run.
Test run allows the creater of the event and others you have assigned as managers and organizers of the event to test run the courses. The test runs will not be shown on the results lists.
Index
Create Event | Spots | Categories | Courses | Test play