NEW
To keep improving both the convenience and safety of invite-only events, creating this event type is now available only with the Event Organizer Plan. Creating public events remains free, just as before. We appreciate your understanding.
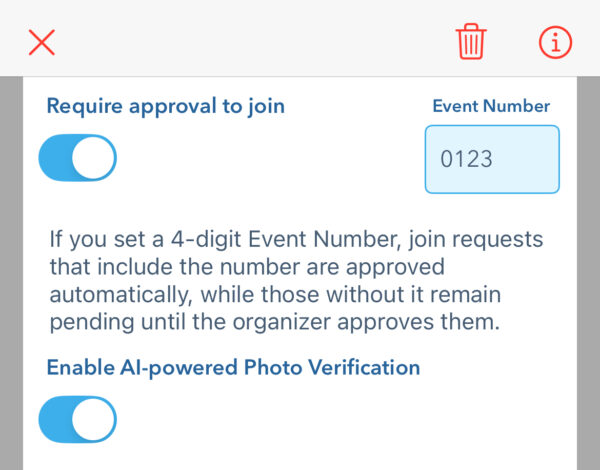
In addition to manual approval, you can now enable instant approval by Event Number — a code you set for the event.
Overview
When Participant Approval is required, only applicants that the organizer approves can play.
(Courses with ≤ 2 spots are treated as practice courses and are always open to everyone without approval.)
Participant Side
Apply for Entry
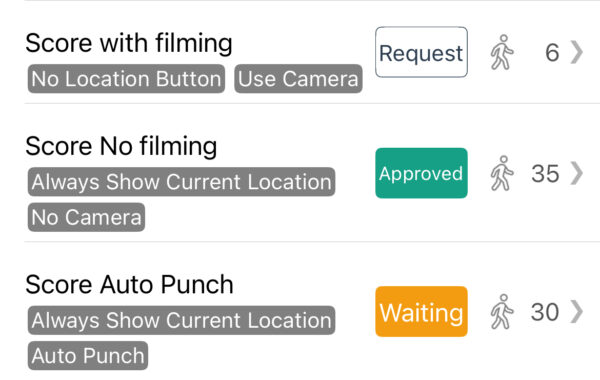
- Open the event, choose a category, and tap “Request”
- Enter your display name (nickname) and any message to the organizer.
- If an Event Number field appears, enter the code provided by the organizer (optional).
- After applying, the button shows:
“Approved” – when auto-approved with the correct Event Number.
“Waiting” – when manual approval is required or no number was entered. - Tap “Waiting” to cancel your request if needed.

After Approval
- Once the button changes to “Approved,” you can play.
- If the organizer has not yet allowed play, the start will remain locked.
Organizer Side
1. Create the Event
Create a new event as usual—no approval settings needed yet.
2. Enable Participant Approval
- Edit Event → toggle “Require approval to join” ON.
- (Optional) Enable auto-approval:
- Set an Event Number.
- Applicants who enter the correct number are approved instantly.
3. Start Accepting Applications
- Create the necessary categories.
- Switch “Publish” to ON for each category and for the event itself.
- Go to [Organize event] → [Player List] and set
- “Open to Requests” → “Open.”
- Change to “Closed” when you wish to stop accepting requests.
- Choose what approved participants may do:
- Allow Play – default
- Display Map – show the map but disallow starting
- Block – hide both map and play
- Be sure to switch to “Allow Play” before the event day.
4. Approve / Reject Requests
- You receive a push notification and a red badge on Player List when requests arrive.
- Tap a participant to Approve or Reject and add notes if necessary.
- You can assign an alias name to each participant for management.
5. Manage Attendance
- Player List → select an approved participant → mark Present or Absent.